Welcome on a great, warm fall Saturday morning. Today I'm attempting something new. Click on the link, hear me out (it takes about 40 minutes) and that's it.
Musings of a hobbyist - episode one
As I promised, the links:
Micromark's seam scraper
Stahly's Tale of Painters
Feedback is much, much appreciated!

Saturday, October 29, 2011


Wednesday, October 26, 2011
Rebasing the arachnarok, part one
Hello and welcome!
After doing my article on custom bases and building one for my giant, I haven't been able to shake the thought of rebasing my arachnarok spider as well. When bases of this size are hollow they are bound to be wobbly and very prone to warping. Besides, I knew I could make a base more in keeping with the rest of my army.
Here are some pictures of how I've done so far.
 First of all, the milky effect on water will of course be gone by the time it dries, it just takes an awful lot of time. Secondly, this is what I like to call a 'flat' base, meaning all of the materials you simply glue on, like flock or static grass, are in place, but nothing that physically sticks out has been added yet. In this case, I mean fern, pieces of fallen trees, mushrooms and the like. I will most likely also add the odd goblin or some bones; bases of this size need very much material to liven them up.
 In my opinion, water is always a nice touch to any large base, also because you don't see water effects on bases very often. Water is hard to do properly (I can only use the Still Water, and it's not very good as well) so few people try it. My pool will be much deeper than it is now, I just have to wait for the previous layer of Still Water to fully dry before adding the next one. It will take a good while, bearing in mind I like to be on the safe side and wait about 24 hours between each layer.
 In the meantime, I'm working on other things for the base, like the ferns. I have a sheet of photo-etched ones that I have learned to work with, but once I'm out, I'll buy laser-cut paper ones. The photo-etched ones are ridiculously fragile and working with them taught me whole new depths of the meaning of patience.

I have no idea when I will be finished with this project, I can't even give you folks an estimate, mainly due to the Still Water drying, but after the night goblins it's nice to lay back with a 'relaxed' project like this one. I shall of course document my progress.
Until next time.
P.S.: A hat tip to Stahly of Stahly's Tale of Painters for mentioning my Liquid Green Stuff review in his list of, and I quote: "the best posts from our friends and fellow bloggers from the Tale of Painters Blog Network." Thanks you, my good sir.
After doing my article on custom bases and building one for my giant, I haven't been able to shake the thought of rebasing my arachnarok spider as well. When bases of this size are hollow they are bound to be wobbly and very prone to warping. Besides, I knew I could make a base more in keeping with the rest of my army.
Here are some pictures of how I've done so far.


I have no idea when I will be finished with this project, I can't even give you folks an estimate, mainly due to the Still Water drying, but after the night goblins it's nice to lay back with a 'relaxed' project like this one. I shall of course document my progress.
Until next time.
P.S.: A hat tip to Stahly of Stahly's Tale of Painters for mentioning my Liquid Green Stuff review in his list of, and I quote: "the best posts from our friends and fellow bloggers from the Tale of Painters Blog Network." Thanks you, my good sir.
Sunday, October 23, 2011
Night goblin battle standard
First of all, please apologize my not posting yesterday. I was preoccupied to say the least.
Secondly, as promised, the night goblin BSB. Brave little big boss waving a big flag.
 It's a mini form Battle for Skull Pass, only I don't know which one of the goblin characters it's supposed to represent. I never got the BFSP set, I only managed to get hold of a couple of minis. Well, more than a couple...
 The banner is from the multi-part night goblin set and I like it very much. It's tattered, shoddy and perfect for greenskins. Ingame it will represent the Bad Moon Banner of course.
 And my favorite piece, the squig. This is the bot that sets an otherwise not very imposing fellow as a character. I love how the squig's skin is stretched by its owner not-so-gentle grip. I've never bought the idea of red squigs; as cave-dwellers I imagine them to be very light-skinned, almost albino. If I ever do a squig herd for the army (and I want to very much), that's how they shall be painted.
That's a wrap folks. See you on Wednesday.
Secondly, as promised, the night goblin BSB. Brave little big boss waving a big flag.


That's a wrap folks. See you on Wednesday.
Wednesday, October 19, 2011
Finally finished night goblins
They are DONE! Done, done, done!
 Full unit of forty little buggers, with a BSB. He needs some touching up still, but that's nothing compared to the unit itself.
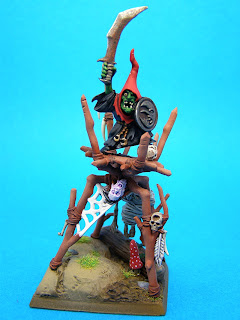
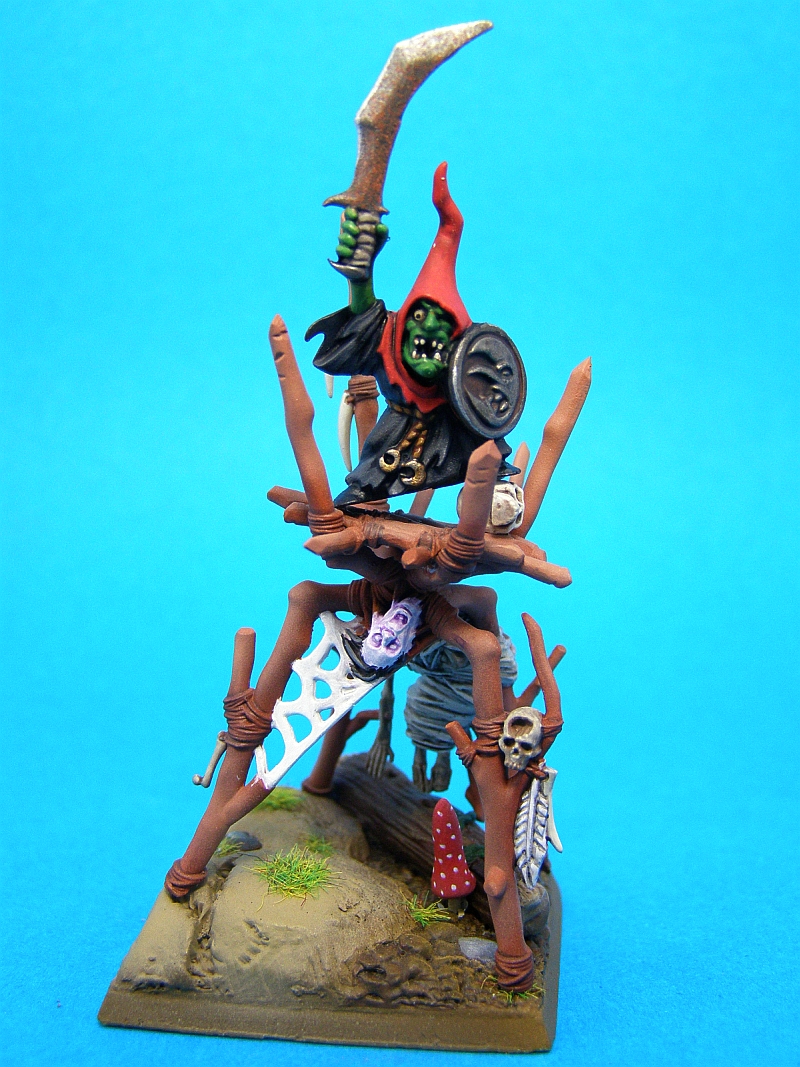
 That's not him, that's a filler. I liked the arachnarok howdah so much I had to include it somewhere. Two unit fillers are perhaps too much, but what can I do when I like some pieces so much?


And of course the netters. Brilliant idea and decent miniatures to boot.

I still need to add the fanatics, but that's for another time. Right now I'd rather finish the BSB and focus on another project that has nothing to do with night goblins.
Saturday, October 15, 2011
Product review - Liquid Green Stuff

When I heard about the "liquid" Green Stuff being released that was all I knew about this product: that something called "liquid GS" was being made available very soon and nothing else. What exactly was it? How was it supposed to work?
Well, I picked up a bottle...a pot... just this Monday and sat down to testing.
As far as packaging is concerned, it's nothing too fancy, just an ordinary paint pot. The lid does not snap and stay open, but I've never been a fan of this, so no minuses here. Concerning its purpose (more on that in a moment), the amount you get for your money - 12 ml - is great.
Don't be fooled bu the "liquid" part. This stuff is not liquid at all. The nearest comparison I'm able to draw is flowy toothpaste or very, very thick, old paint. It can be diluted with water or Vallejo thinner, but you'll have to be extra careful not to overdo it. A teeny-tiny drop should be enough if you just have to dilute it, but I don't recommend doing so. Why?
Because it's a) not supposed to fill any holes larger or any lines wider than a needlepoint and b) it's sandable. The latter is by far one of the great things about the LGS. Just use a very fine sandpaper (we're talking 3000 grain here) or emery board and it will work wonders. You can also wait a second after application and smooth it with a damp brush.
Application can prove tricky and will require a bit of practice, but it's nothing you can't learn after your first few holes and/or lines. I repeat, however, LGS is not intended for any work larger than gap filling and will simply fail at any such use.
When used for its intended purpose, however, it's a great product. When applying it to your miniatures I recommend using a dedicated, robust brush (I've found GW's Small Drybrush to be quite up to the task). You need a brush with bristles stiffer than your average so you can push the LGS into whatever you want filled. The brush is cleaned with water, just like when painting. Just take a second more, LGS is much more viscous than paint.
LGS dries and hardens very quickly - it took about fifteen minutes from application to being able to sand it. For deeper fillings multiple layers can be used, they don't separate or anything of that sort.
Taking all of the above into consideration, I fully recommend gettinge the Liquid Green Stuff and give it four out of five stars. I have to drop one, as GW failed to properly advertise the product and get the fanbase familiar with it prior to the release. Also, the only tutorial from GW so far are three pictures and several sentences in White Dwarf - not adequate in my book.
Wednesday, October 12, 2011
On the workbench
Just a tiny update today, I'm swamped with work. On the pictures below you can see how much:


 Lots of stuff, all for future projects. The netters finally arrived and I should be done with them by Saturday, making all the rank-and-file night goblins finally finished.


Saturday, October 8, 2011
Re-done Bologs
Hello and welcome to a sunny, if chilly, Saturday afternoon. Today I just want to show you the finished giant mini-project. I call it "mini" because, as you can see, I haven't done any work on Bologs himself (that's his name, Google it if you don't believe me), just his base.


I'm still waiting for the night goblin bits to arrive and I'm beginning to worry the Polish Postal Service blew it yet again. It puts a major snag on my plans, but I guess I'll just do something else in the meantime. Maybe a mangler squig or the night goblin filler?
Anyway, see you on Wednesday.
Subscribe to:
Posts (Atom)